In order to get from the front lawns to the back lawn with the mower, or with a wheelbarrow, once through the archway, it was necessary to negotiate a steep and rocky slope. I had hoped to turn this area, which is immediately outside my kitchen window, into a kitchen garden but the incredibly thin layer of soil topping solid bedrock was none too encouraging. Raised beds would be the obvious answer, but the steep diagonal gradient was a real stumbling block. On one of my many trips through this area with the wheelbarrow, I realised that the “slalom” route I was taking to negotiate the incline was carving the space into manageable, if oddly shaped, spaces for raised beds. The need to retain the slalom path for the wheelbarrow and mower, plus the requirement for a shorter route for unencumbered pedestrians, dictated the shapes of the beds, only one of which was rectangular.
Having a clear picture in my head, but only the most basic of carpentry skills, in early Summer 2005, I set about the task of building some really unconventional raised beds, some of which varied in depth from six inches at one end, to 30 inches at the other.
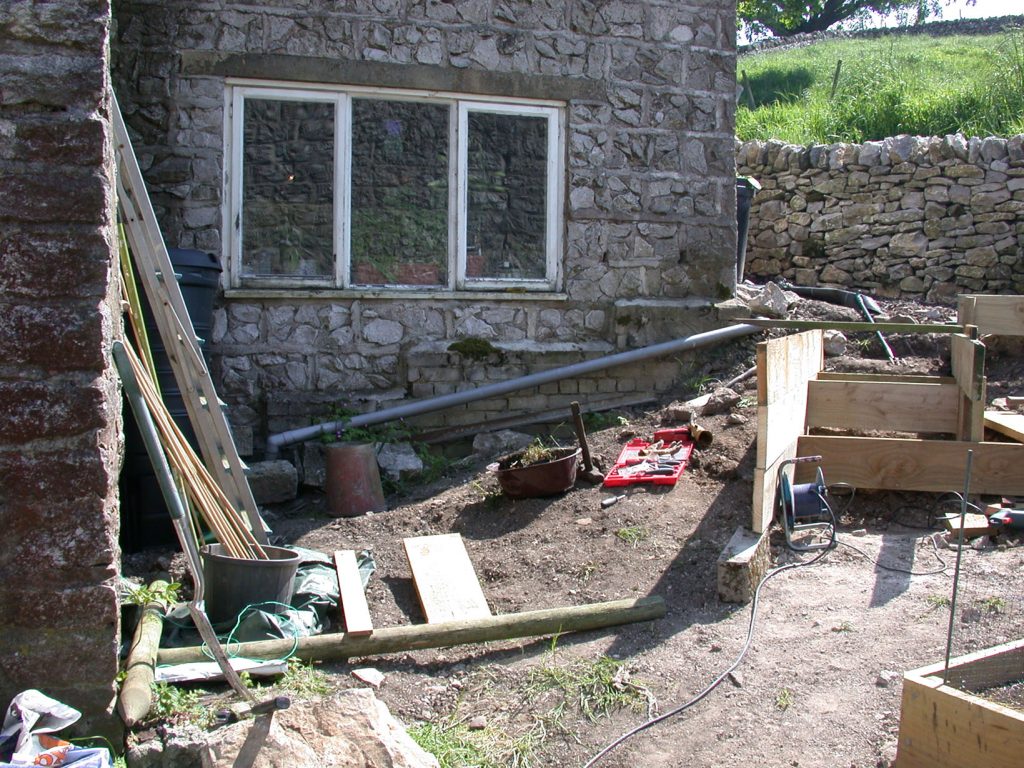
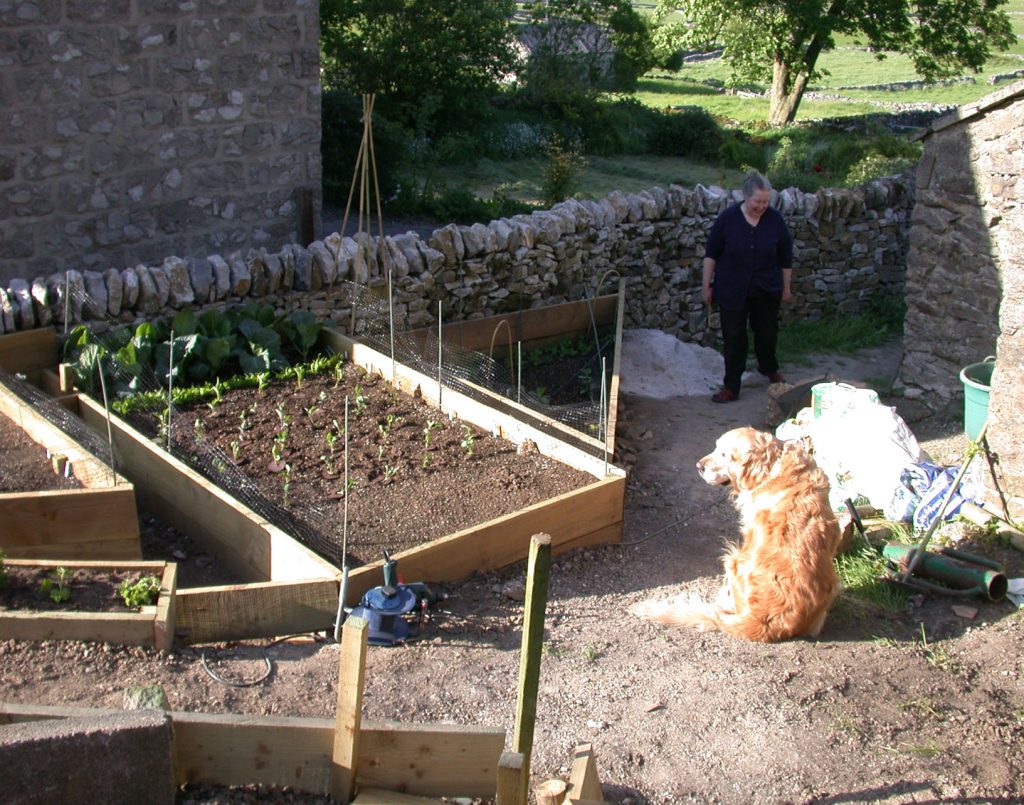
| Note the newly built retaining wall and the steeply sloping bank beyond. The picture shows the incline from front to back, but doesn’t really show the incline from left to right. The lump of rock in the left foreground had taken an entire morning’s work to prise from the ground with a mattock and crowbar. The most tricky part of the build was working out how to cope with the gradients; building from a base that slopes in two directions, in order to end up at a particular level, whilst handling ungainly and heavy eight foot long planks, was no easy feat. But I’ve always enjoyed puzzles. |
Note the spirit level and the trusty mattock; in my garden, any sizeable hole has to be dug with a mattock; I don’t very often dig with a spade.
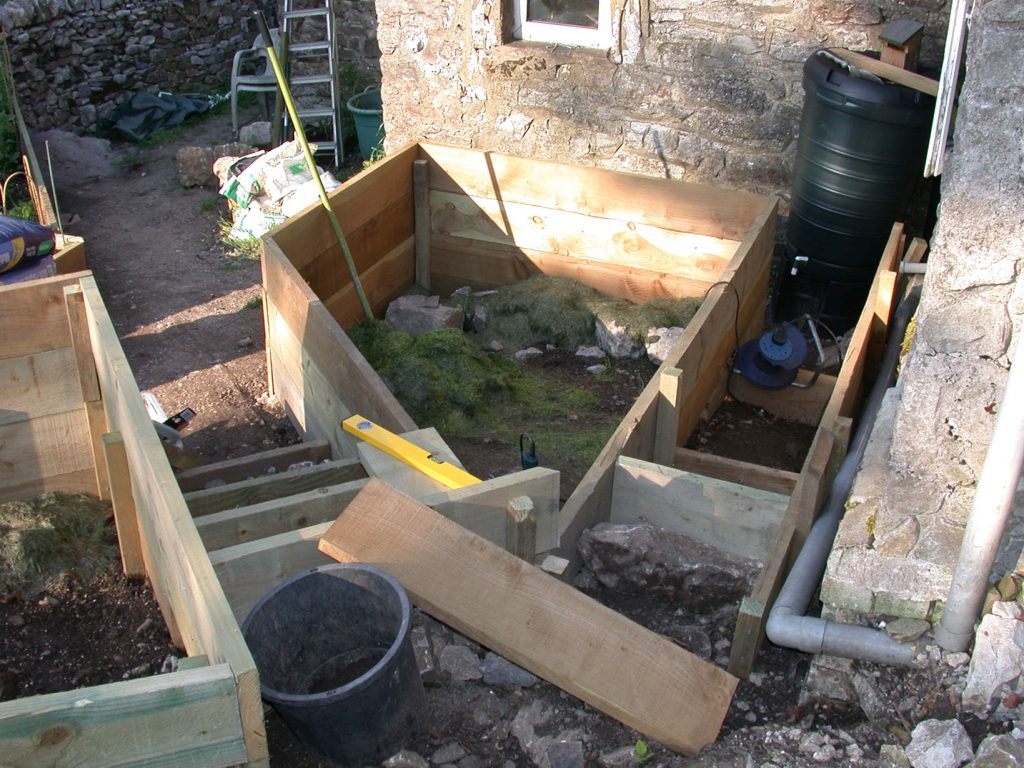
The two trickiest beds to build: access was needed to the water butt and for cleaning the kitchen window, as well as steps up to the path behind the house
Both these oddly-shaped beds were four boards deep at one end, and a single board deep at the other. Rocks, of which we have a plentiful supply, were thrown into the bottom, along with other debris, grass mowings and spent compost, to decrease the depth and the amount of topsoil and compost required to fill the beds.
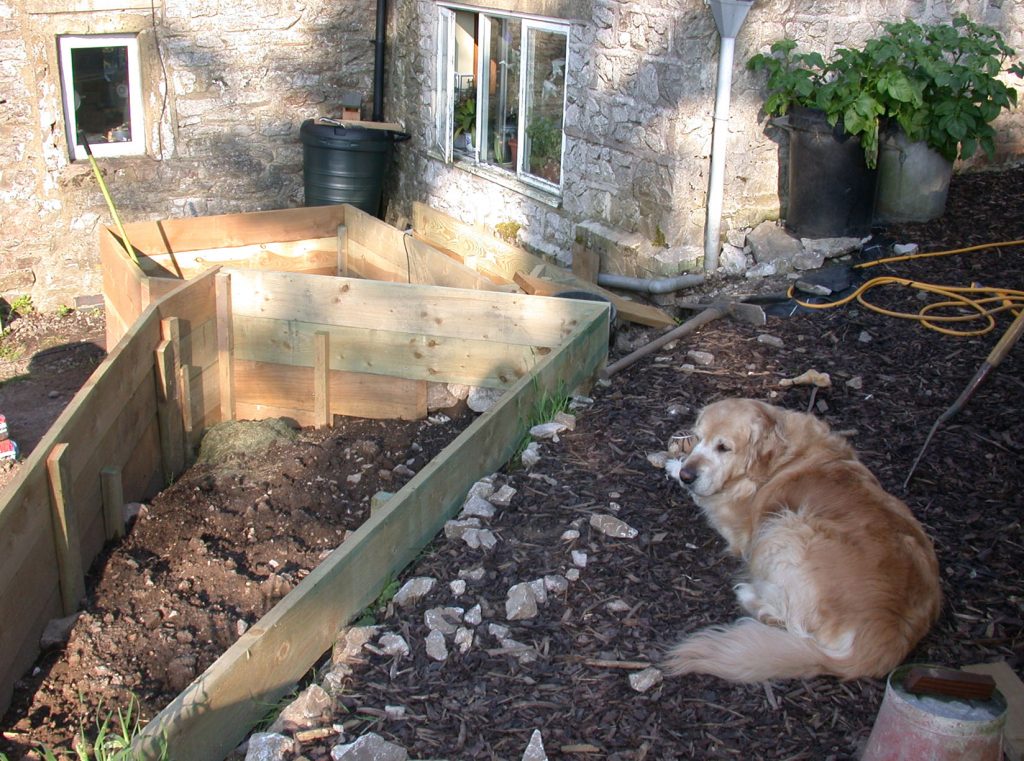
Impatient to get my vegetable plot in use, note the potatoes coming along nicely in a couple of old dustbins
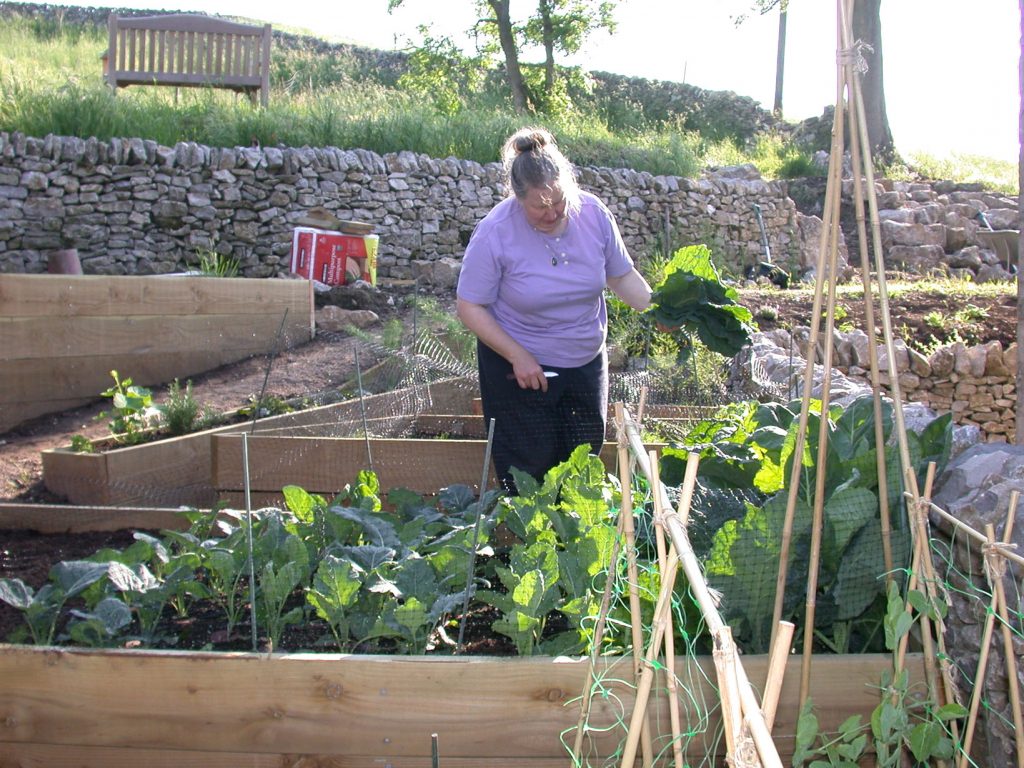
As soon as a bed was finished, I was keen to get growing. I bought one strip of cabbage seedlings (at the back) and raised the rest of the brassicas from seed. This photo also shows the difficult corner (where the green tub is) that was destined, eventually, to become my potting shed cum greenhouse.
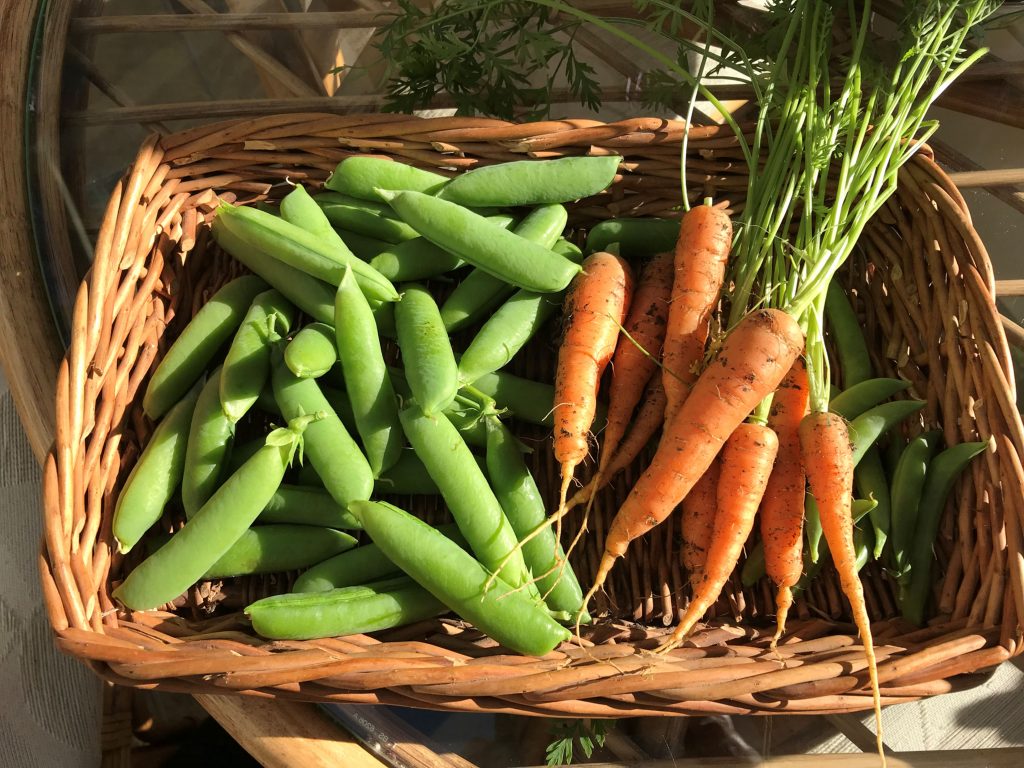
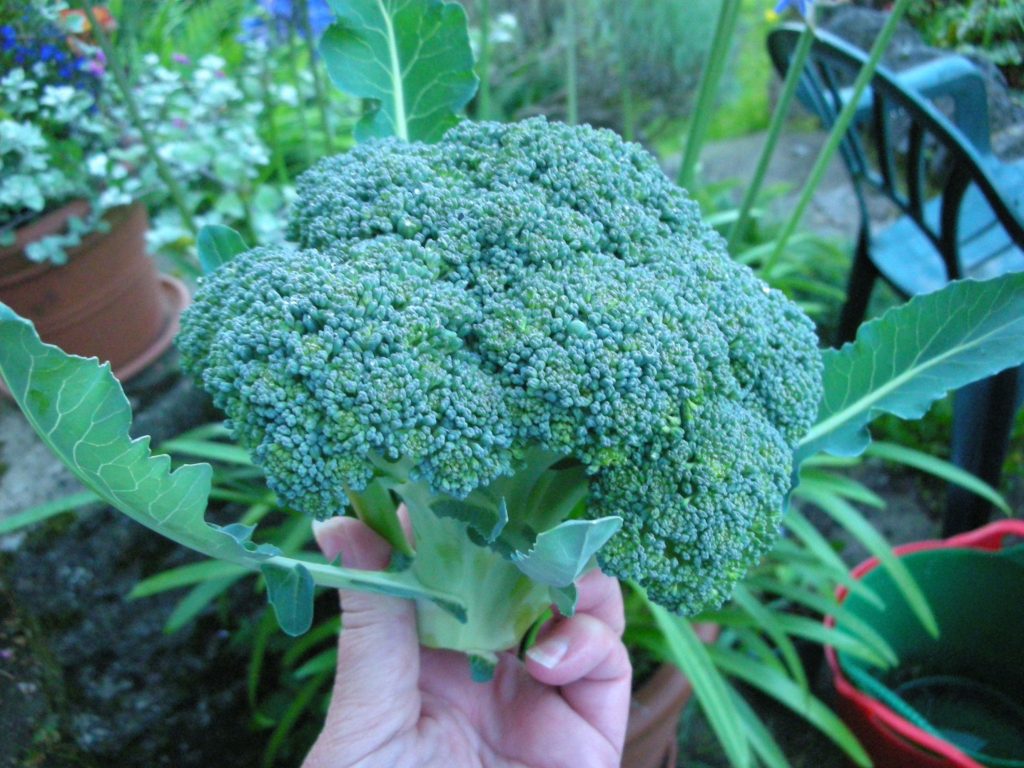
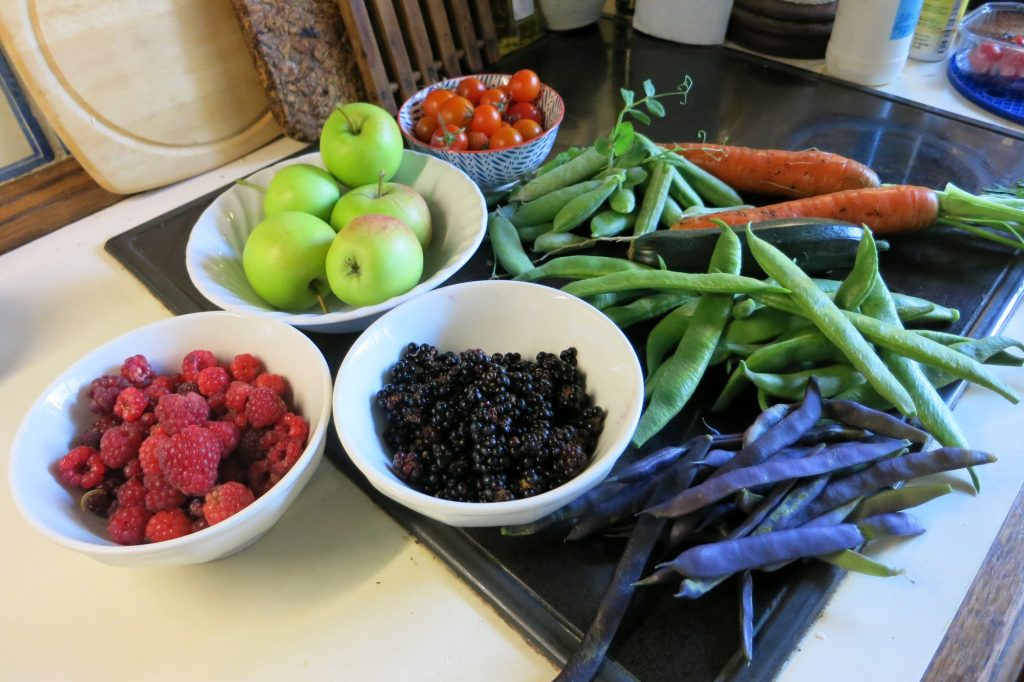
Having taken so much of the early summer to build the vegetable garden to this stage, and still needing to fill the deeper beds with soil, I had missed the main veg sowing period, so the other beds didn’t come into use until the following year, by which time the paths and steps had been completed. I did, however, manage to get a reasonable crop in those first couple of months. The sprouts produced a relatively small crop for the amount of space they took up, but the calabrese was amazingly good as were the peas and runner beans.
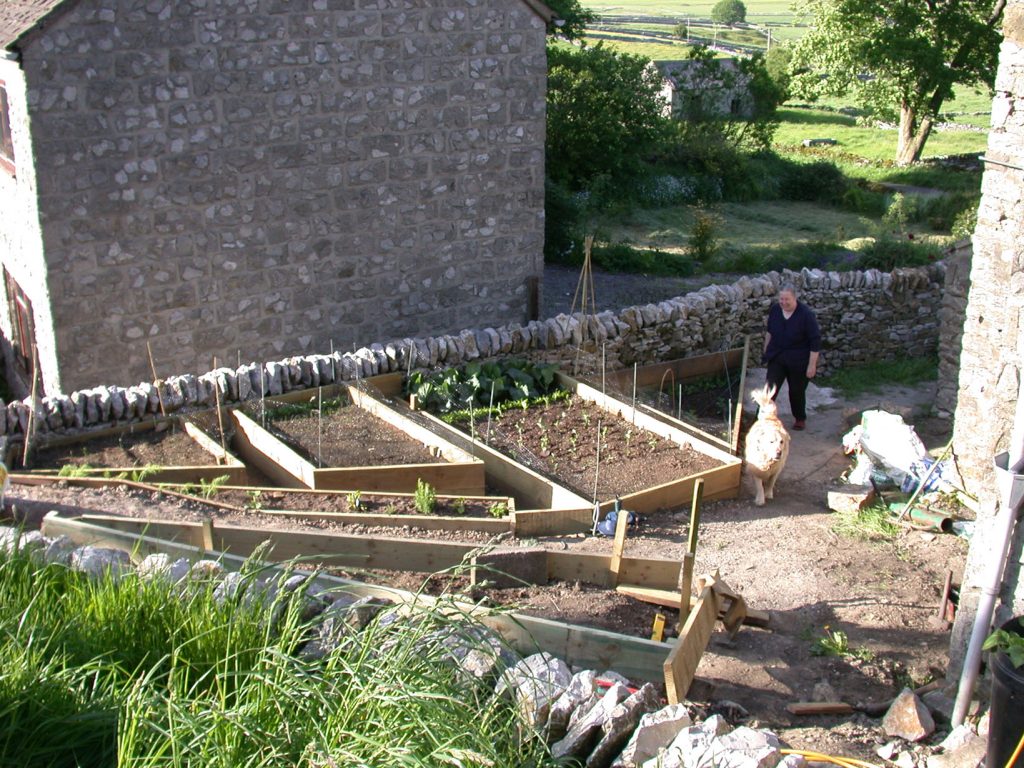
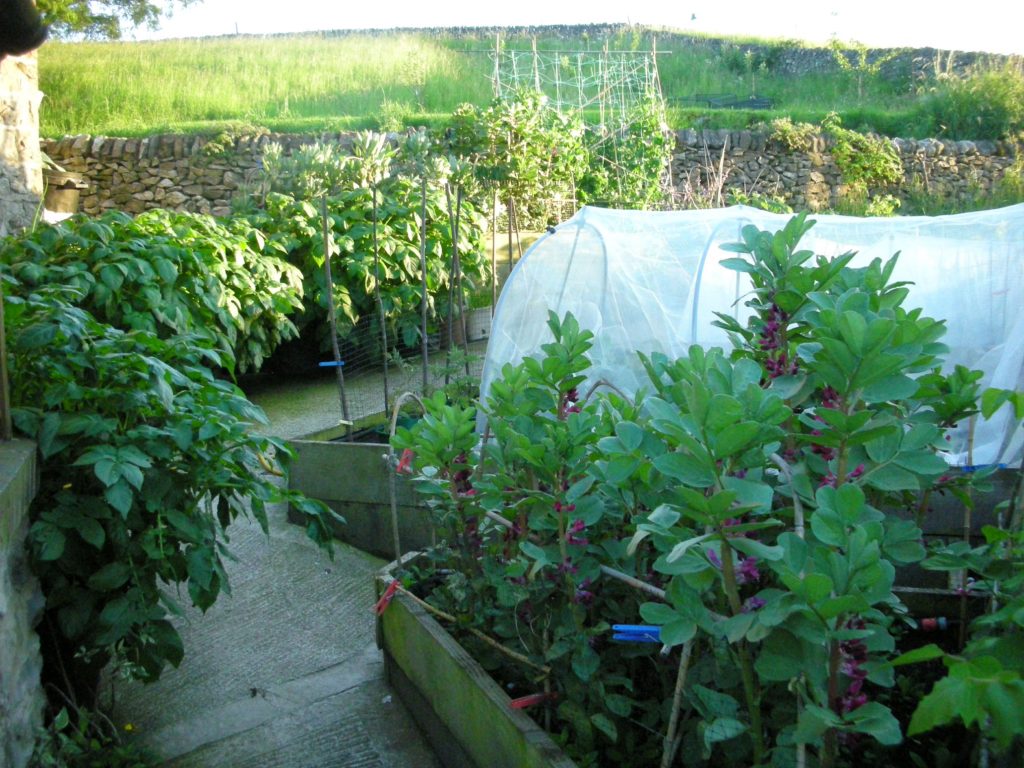
In this photo you can clearly see the gradient of the vegetable garden, the depth of the retaining wall, and the gradient of the boundary wall. You can also see the rapid growth of weeds in the trench between the lawn and wall and, to the far right, some of the more hefty rocks that were dug out during the excavations and levelling.
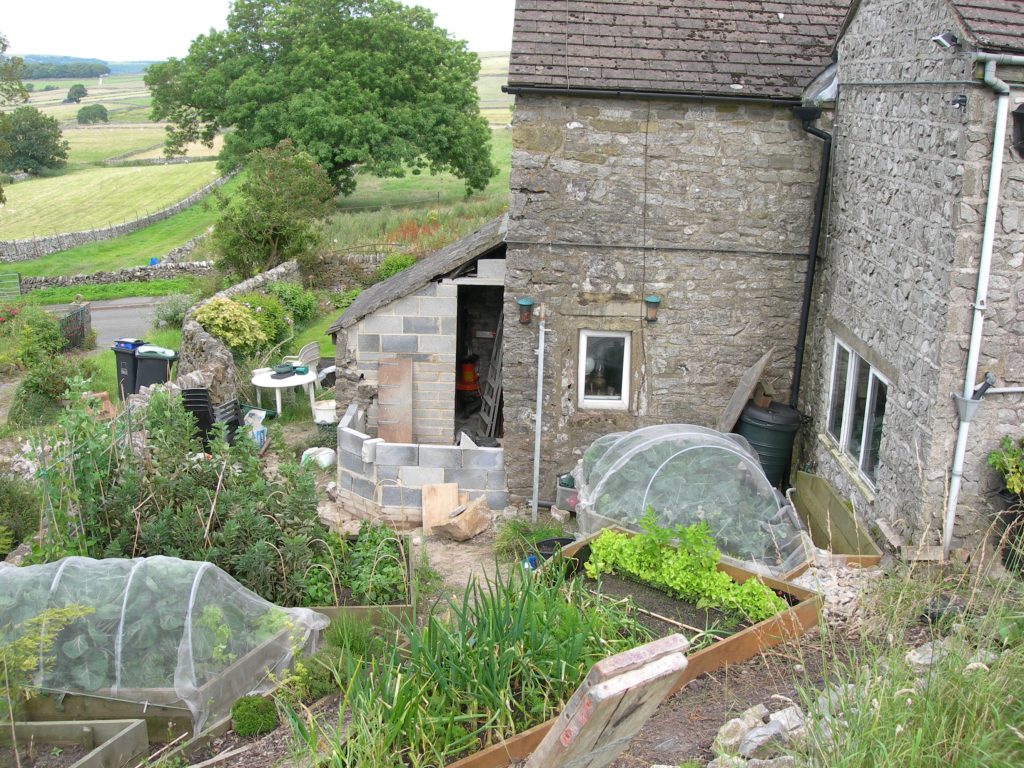
Once the vegetable beds were completed, there remained a difficult corner between the back of the old stone shed and the house wall. As I didn’t have either potting shed or greenhouse, it occurred to me that a small one could be built on the end of the shed, if we opened up a doorway in the shed’s back wall for access.
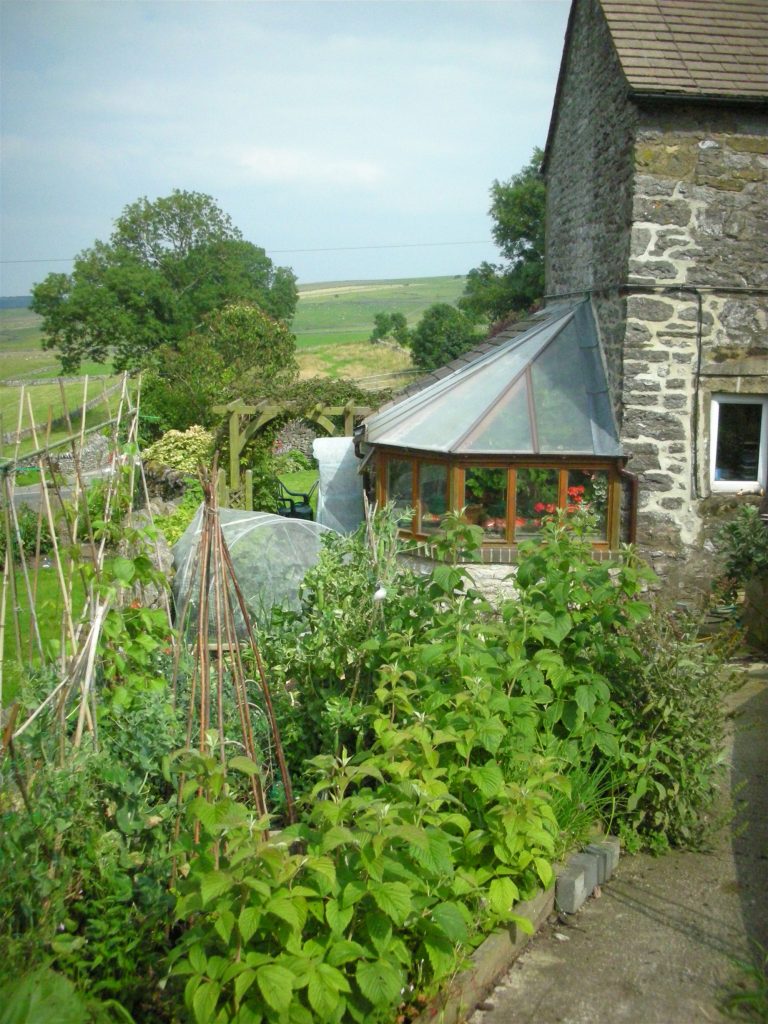
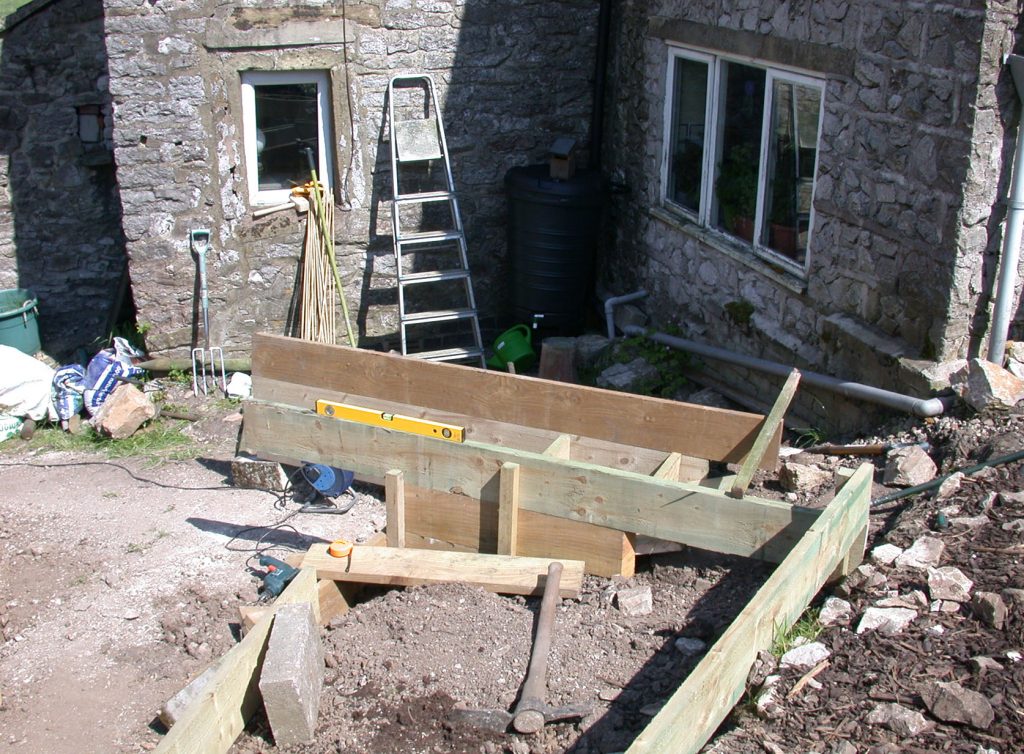
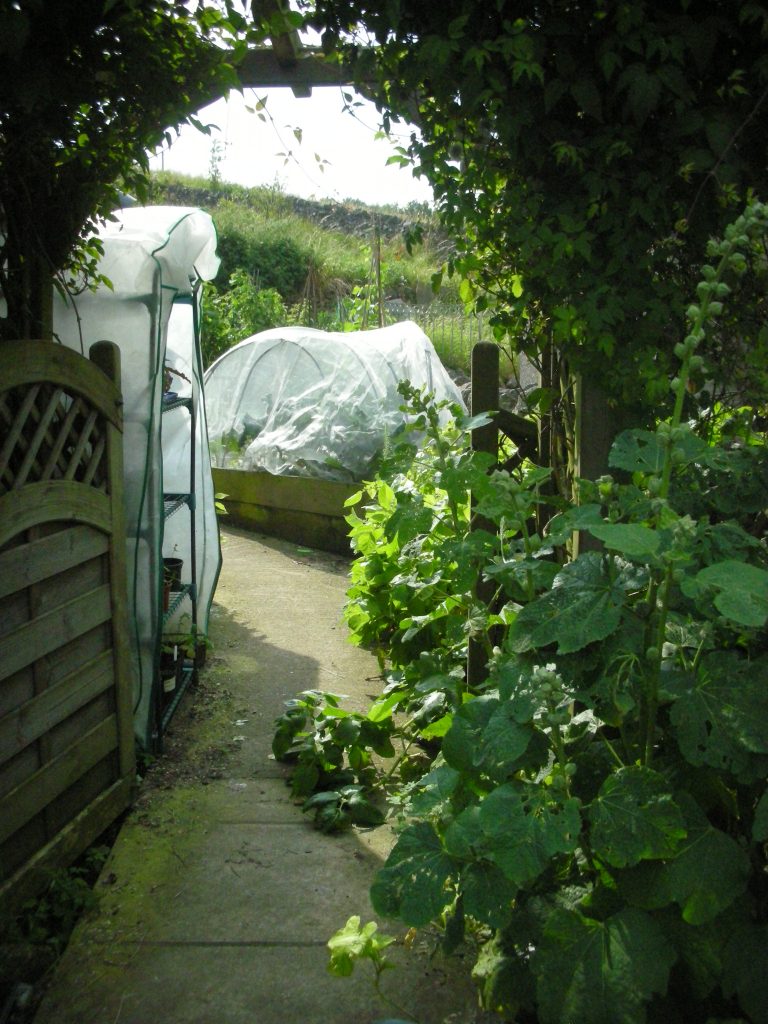
This photo shows quite clearly the “slalom” path that was needed to get the wheelbarrow and lawnmower up the quite steep slope

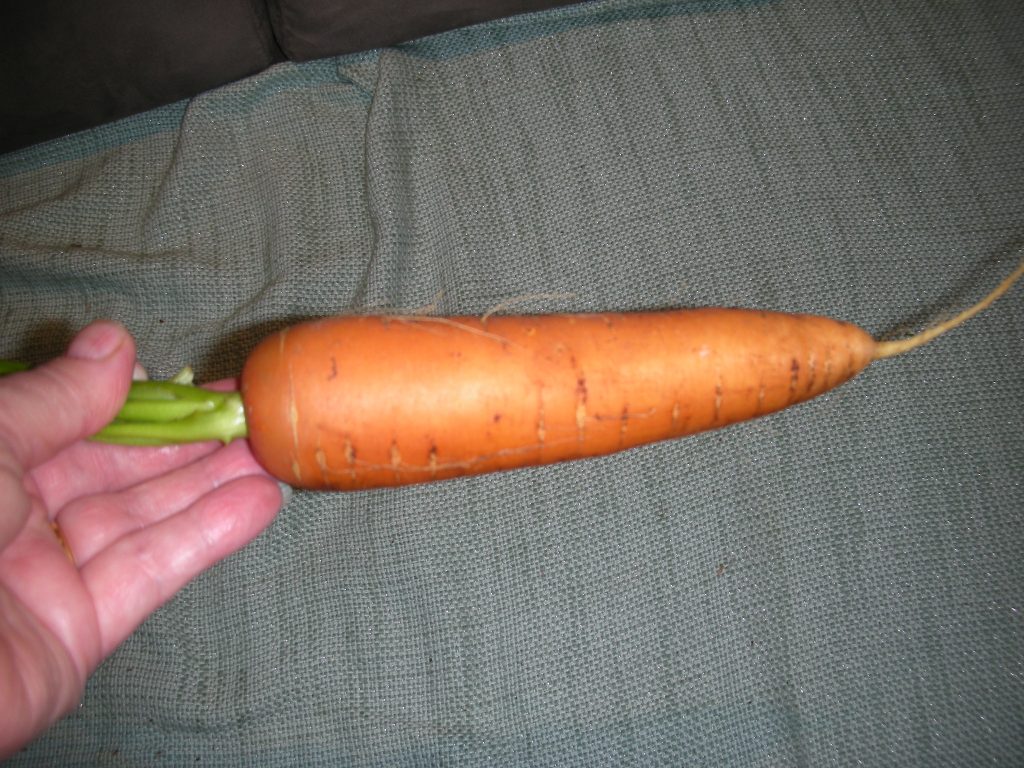
A very good “doer” and delicious lettuce from the Heritage Seed Collection
Dec 24th 2018
Throughout the constructing of the veg beds, I was developing the planting in the other areas of the garden as well as caring for the newly laid lawns and maintaining the more established parts of the front garden.
Continued on page 4….. The Orangery